Design a site like this with WordPress.com
Get started

InDesign: Lesson 3

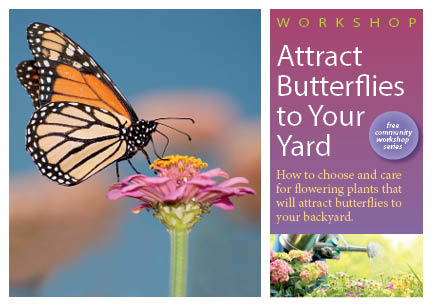
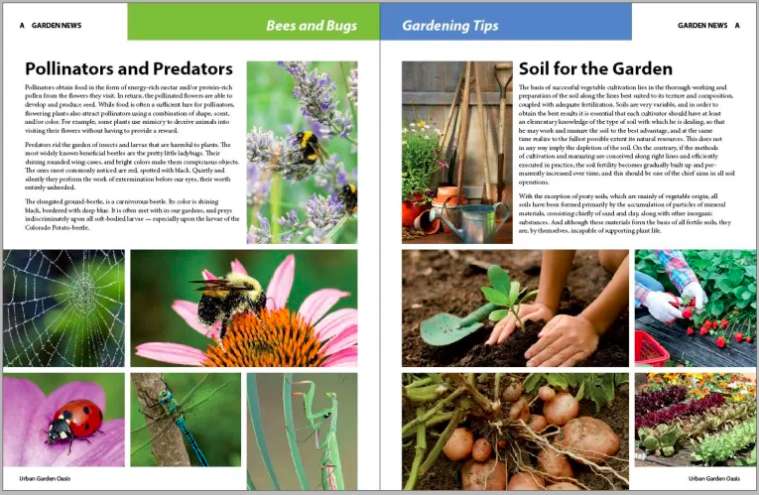
In this lesson of InDesign, I learned how to work and manage with the pages panel and text to create a garden newsletter. To begin, the whole layout of pages was used with guides plus with master pages for the work. Master pages are the controllers and leaders of the sub pages that give a foundation for their layout. I learned that when trying to edit a master page, you hold shift and use the selection tool. I also learned how to number pages, change the layout, number of columns, and add text frames. To add the text frames, I used the shape frame tools to make a space for the text and images to go into. Furthermore, a very crucial information to remember when working with pages is that you can add the same layout to different pages by dragging one page to another. This allows you to duplicate a certain layout and add it to other layouts. The incorporation of text is mainly used by special characters and the type tool. Finally, to add the image and place them, I used File-Place, in which I learned to do as well. Not to mention for work like this, there are bleed lines that images need to pass to make sure the work with print correctly. This is a very important component for the images and texts. This lesson was very beneficial in the case of working with pages in documents and taught me a significant function inside InDesign.

Advertisement

Vertical Type Tools and Creating Outlines

In this lesson, I learned about Vertical Type Tools and Outlines within text.

Vertical Type
Outline

The Vertical Type Tool is essentially a tool that allows you to type text from up to down.

You may have noticed that the text doesn’t show any anchor points, you can adjust and change them. You can only do that if you convert the type into outlines by heading to the Type Menu then Create Outlines. This pops up the vector points of that characters, which allows you to change the look of a font.

Touch Type

In today’s lesson, I learned about the Touch Type Tool and its function.

Adjusting the O with Touch Type

The Touch Type Tool is a tool that recognizes touch input on text.

To activate the tool, create text box with text inside, then in the Character Panel, the tool is highlighted. The other way is to choose the tool inside of the Text Tool.

When you click on a character with the tool, a bounding box appears, giving you the ability to change its rotation, position, and size.

Convert Point Text to Area Text

Today, I learned how to convert Point Text to Area Text.

Area Text that was converted

Point text is a great and easy way to add text on a document, but you can’t increases the size or else the content will get stretched. What you will need is area text, and to do that, you must convert it.

To convert point text to are text, locate the circle on the bounding box and click on it. You can also convert it back to point by doing the same. Just make sure you don’t have the bounding box hidden.