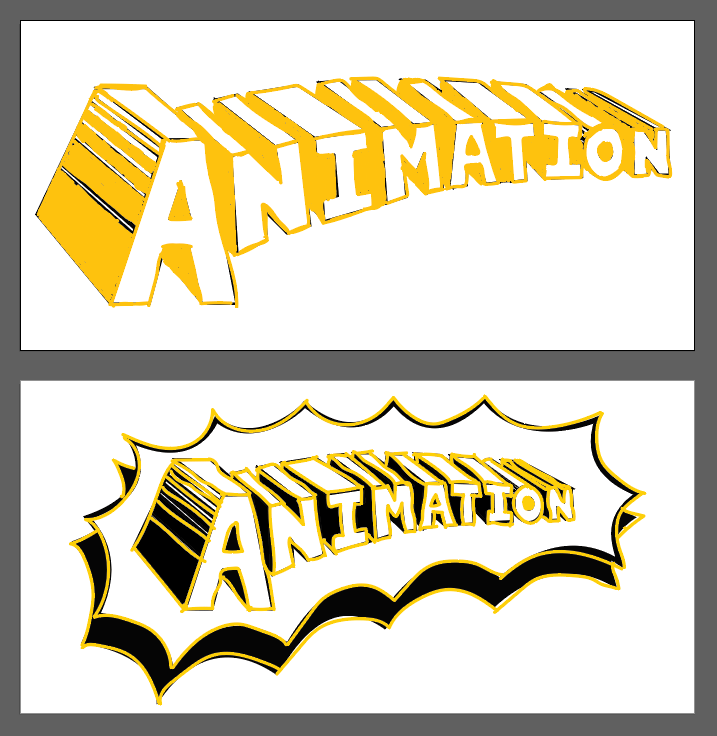
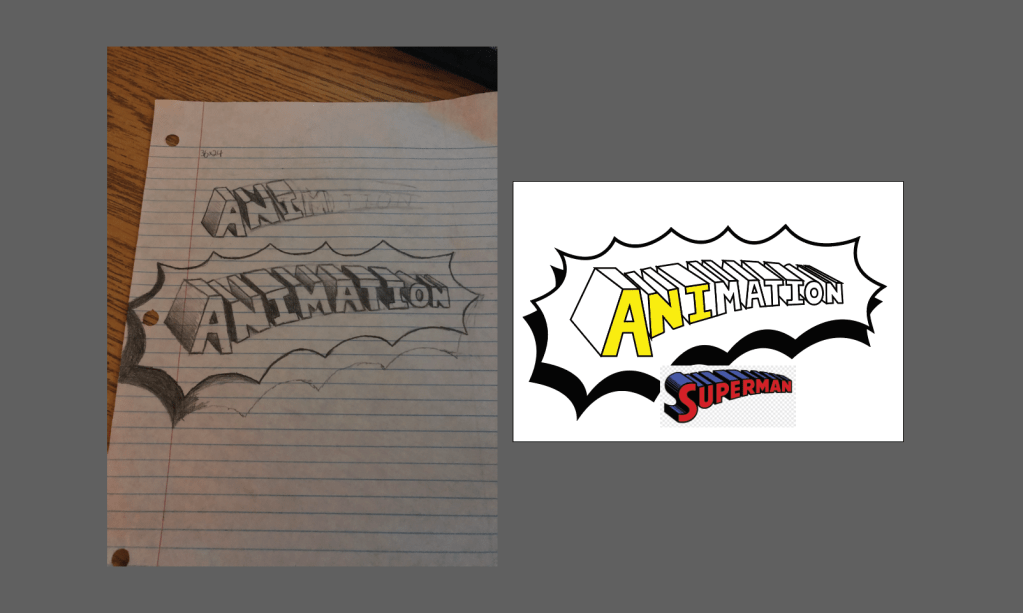
Last week, I had finished the outline of one of the main characters from Gravity Falls and started practicing on free drawing my ANIMATION title for the mural. Essentially, I used a pad provided by my teacher and hooked it in the computer. From there, I hopped on Illustrator, opened the ANIMATION file, created new artboards, copy/pasted the black and white ANIMATION as template, then drew over it using the pad. This was the result with and without the comic bubble:
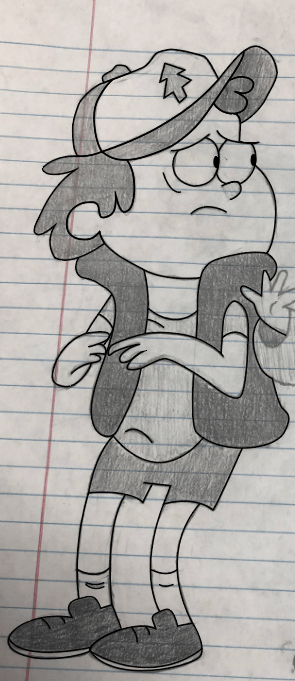
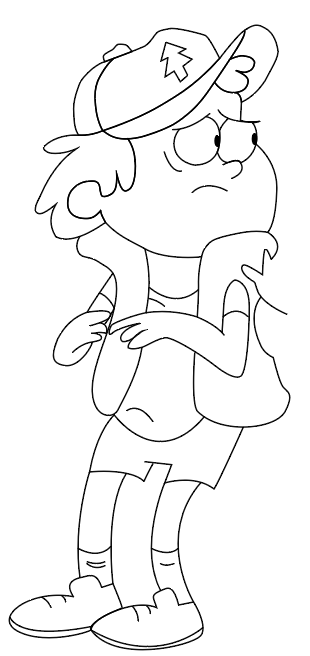
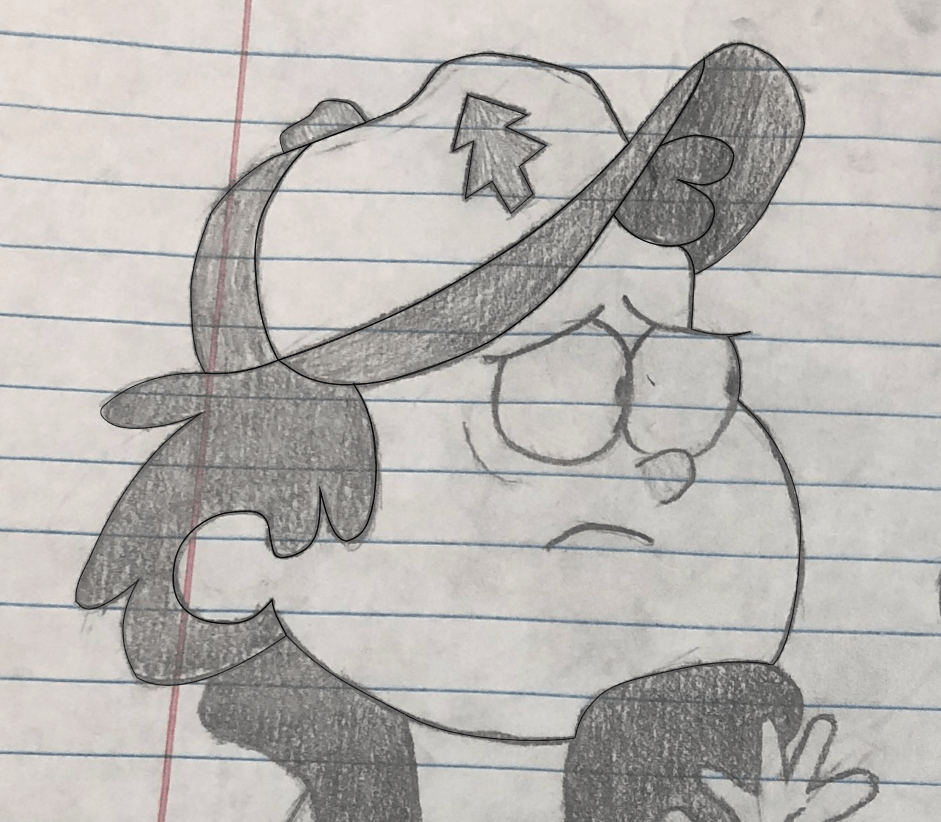
On last week’s update post, I had just begun outlining the Gravity Falls sketch of Dipper and Mabel on Illustrator. I had left off on Dippers Face , started off from there, and completed outlining him. Here’s the complete outline on sketch and without:
On the next update post, I’m going to finish up Mabel’s outline, color them in, and then practice free drawing the ANIMATION by hand.
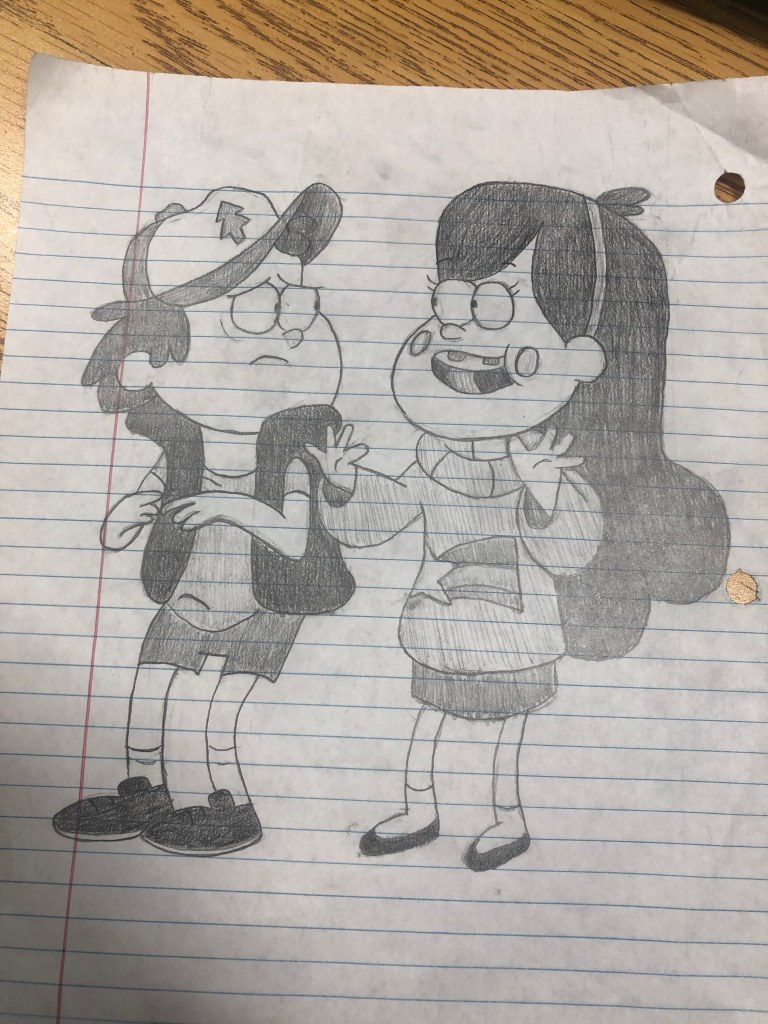
Last time on the mural, I had created the ANIMATION title and its many color palettes. Now, I’m working on creating characters that will be around the title. The characters I have chosen are from a show called Gravity Falls.
Firstly, I sketched and drew the two main characters from the show, Dipper and Mabel, all while using reference photos. Here’s the final sketch:
Then, I uploaded the sketch onto Illustrator and going over the outlines using the pen tool. Here’s that process below:
Once I’m finished with this, I’ll then print out the outline of these characters and practice tracing over the lines. Could possibly color in the characters to get a good grasp of what they’re suppose to look like.
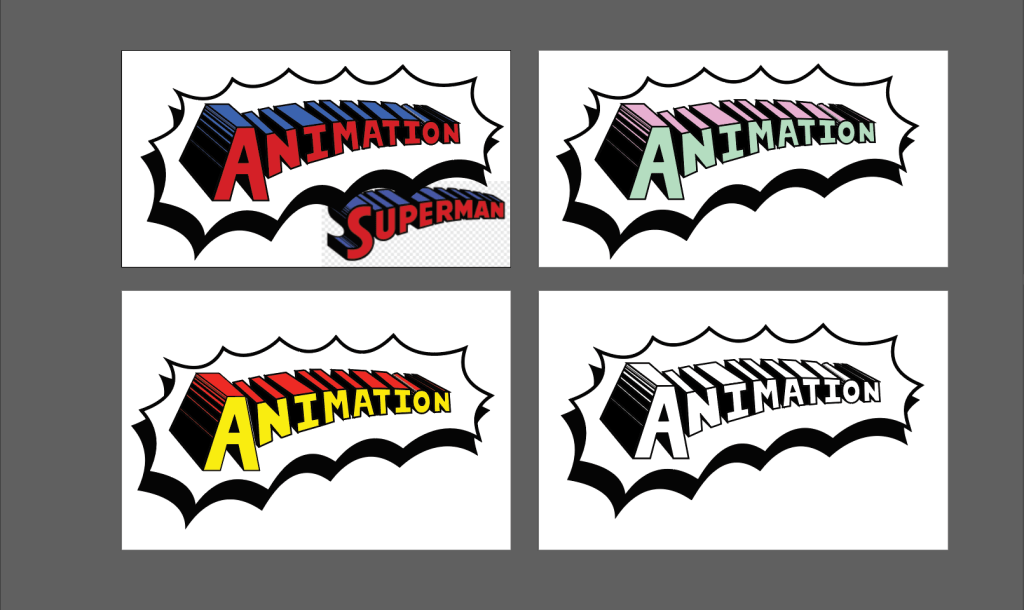
From where I last left off, I had 4 artboards each having the title ANIMATION with its unique color palette. Well I expanded the artboards and color palettes by adding another 4 in the mix. Going from left to right, we have Cotton Candy, Hulk, Complimentary, Secondary, Superman Logo 1, Pastel, Superman Logo 2, and Black/White. I also slightly edited the shadow fade on the A and O.
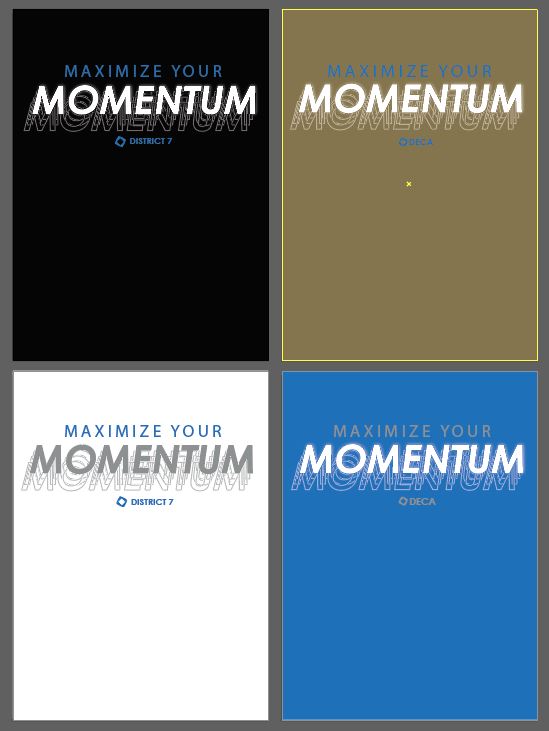
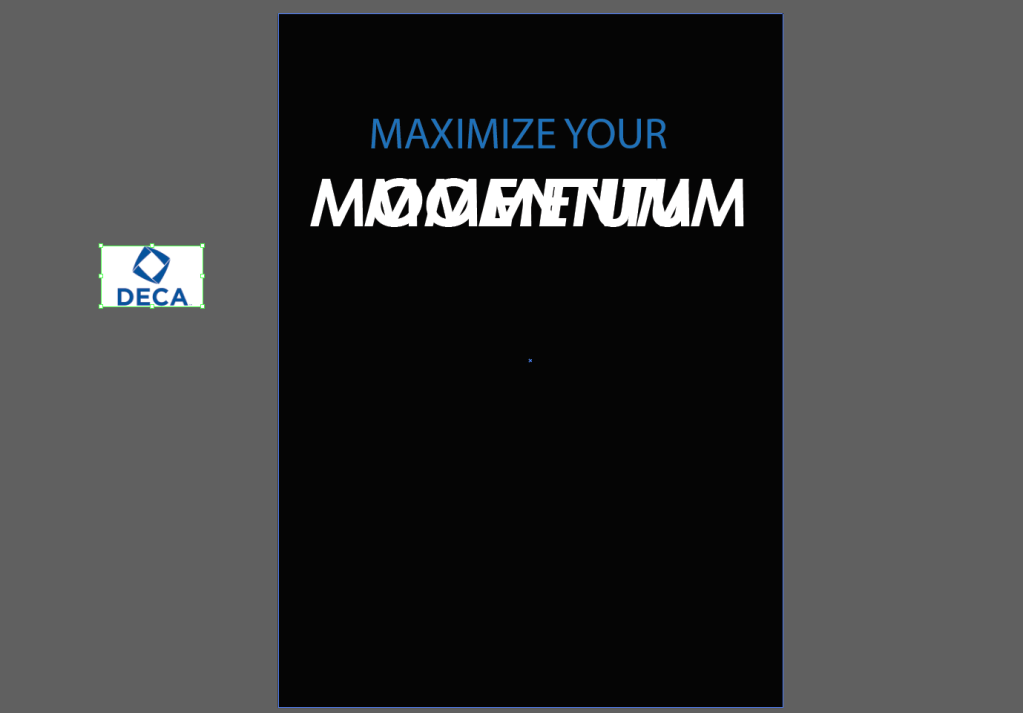
Originally for the shirt, I wanted to add a motion blur effect on the MOMUMENTUM part of the DECA motto “MAXIMIZE YOUR MOMUMENTUM” to convey movement and then played around with the colors from the school, which produced the following:
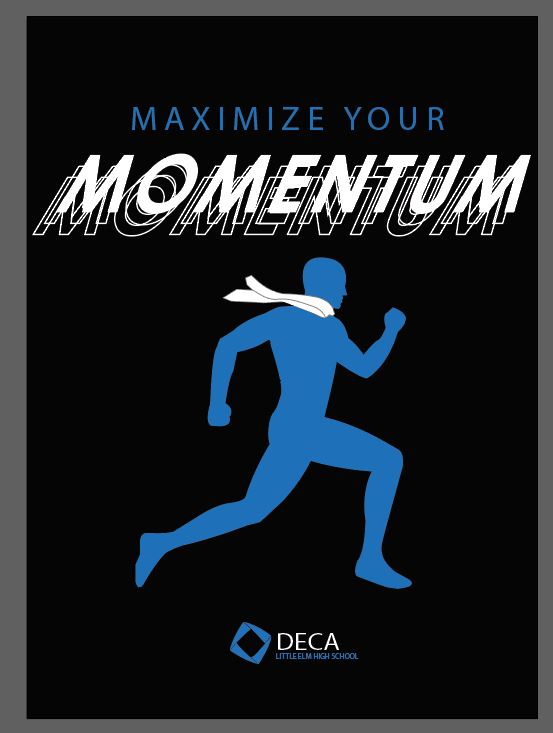
However, I noticed that one of my partners had created a running figure with a tie around its neck, symbolizing the business part of DECA. With that in mind, I replicated it with my text, which I had deepen its italics, and got this:
Lastly, I decided to implement my text and color palettes into my partner’s attempt at the shirt design, which resulted in this:
From where I last left off, I had filled in the colors and added shadow for the original one in the bottom left corner in the picture below. Then, I reshaped the letters to achieve the same exact thickness and create a smoother transition from each letter. Lastly, I made 3 other artboards with them having the same ANIMATION title and filled them in different colors. The original in the bottom has 2 of Superman’s color, the one in the bottom right is just black and white, the one in the top left replicates the Superman text, and the one in the top right has a pastel color scheme.
Meanwhile, I had just began a new project for DECA and they want a new shirt with their motto, MAXIMIZE YOUR MOMENTUM. With this idea in mind, I created an artboard with the same measurements as a small shirt and going to add a motion blur for the MOMENTUM Text.
I began working the on mural project and sketched with the ANIMATION TITLE to fit with the style of the Superman text, which took a couple tries because of its forced perspective. Then, I took the sketch into illustrator where I used the pen tool to trace and edited the letters, using the Superman text as a reference. I also wanted to add a text bubble behind the letters to fit with the pop art, comic style. Lastly, I added some colors to the letters and add a thick stroke to make it graphic, then making a separate artboard for text as a reference for the mural.
This lesson of InDesign was all about text and spelling, which I had been taught. Here are all of the many ways that I learned and what panels I used:
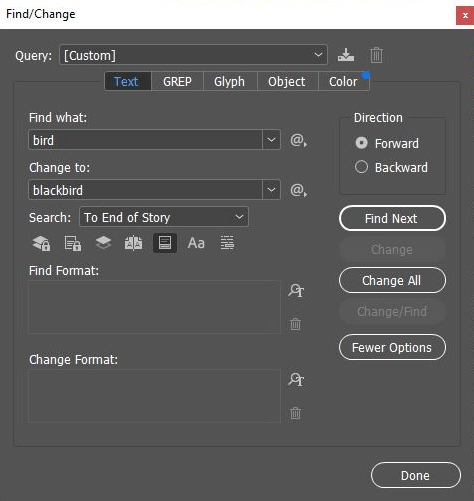
To begin, I learned about changing word formats and different words using the Find/Change panel. This panel allows you to type in a work to find and it will change those words to another word of your choice. Using this example, the word bird in the selection was being changed to “blackbird” and this was a much faster way to change words in the text.
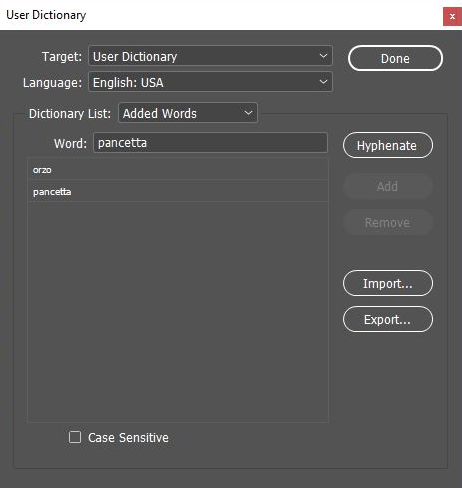
In the user dictionary, you can add words to the dictionary that InDesign might see as misspelled. When you add a word to the dictionary, InDesign will then won’t think that the word is misspelled and you can continue through your work faster.
The check spelling panel is pretty much self-explanatory. This panel checks the words in your text and gives suggestions on what InDesign believes might be what you are looking for. I used this panel in this section of the lesson and changed different misspelled words in the given text file. This is very effective when needing to type something very quickly and editing the words faster.
Finally, tracking changes was a new concept that I learned from this lesson. This panel helps you see the layout of your text and allows you to add changes. The changes that are made can be seen here in this panel and the selected content gets highlighted to show you as well. However, this method is just a more in depth way of looking at the text you are working with and adding changes to words and styles.
This is the final product of Lesson 6 of InDesign seen above. I learned different approaches about manipulating text and all of the different panels you can use to adjust your text. Although this wasn’t particularly a hard lesson, it was still very beneficial to my knowledge of InDesign.
Throughout this lesson, I learned how to effectively manipulate text and add changes to it. Here are all of the different concepts I learned about text and what the final product looks like:
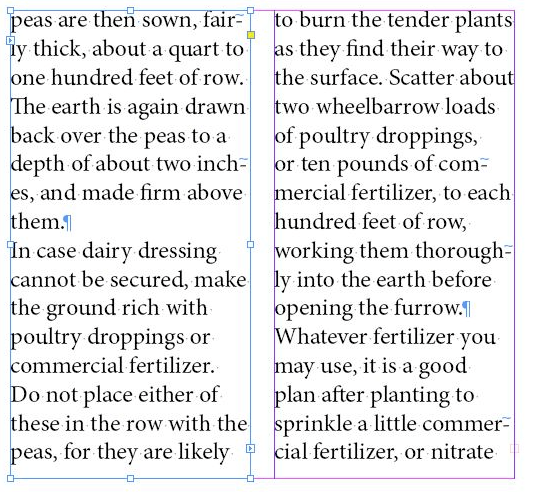
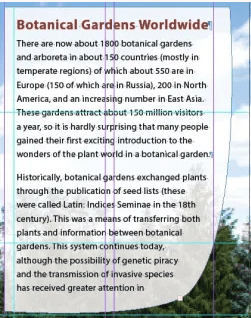
In this part of the lesson, I learned how to thread text while using the selection tool. With text threading, you can add text to a text frame and at the bottom there is a red box that shows up. If you click the red box, you can get a loaded text on your cursor, then you can place the extra text into another area. This new text is continuing what was already previously put into the first text box. Learning this technique was very helpful since it sets up the use of different methods for text, which is very crucial to know.
Adding onto text threading, a different way to text thread faster is to autoflow the text. To autoflow text, you hold down the shift key and it preloads the text to your cursor without having to click the red box. This is useful when needed to thread loads of text.
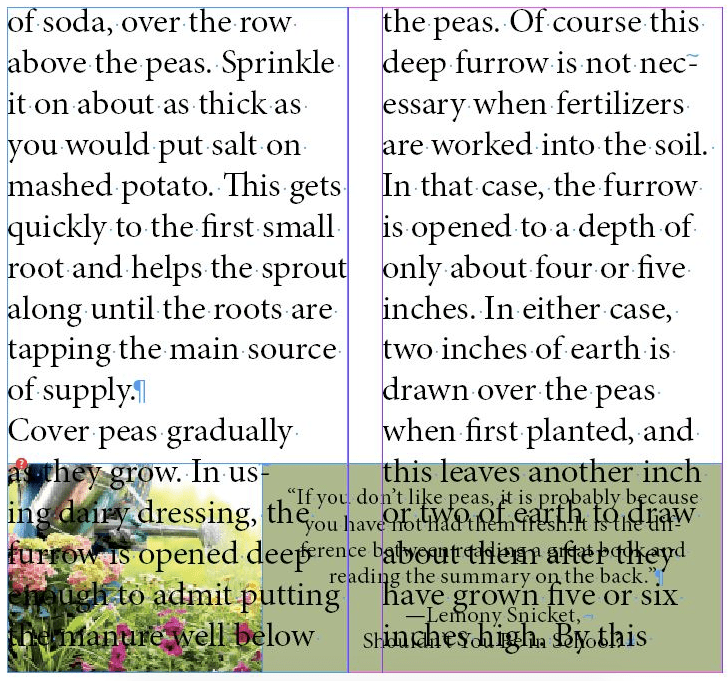
As shown above, this is the final product from this lesson. Besides text threading, I learned how to add headers, body text, indentions, and change the layout of the text by using the paragraph styles panel and text methods. Using different text options was very beneficial and I learned a lot out of this lesson.
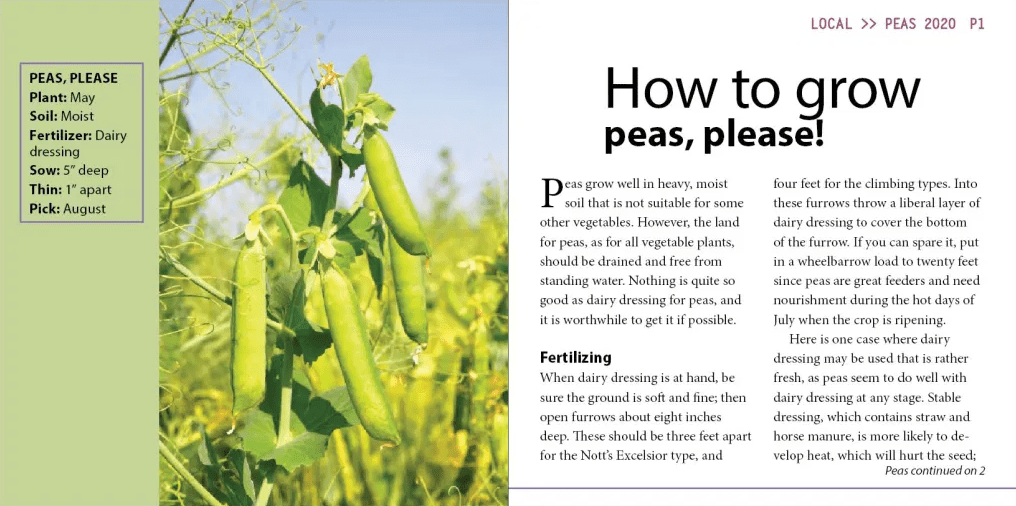
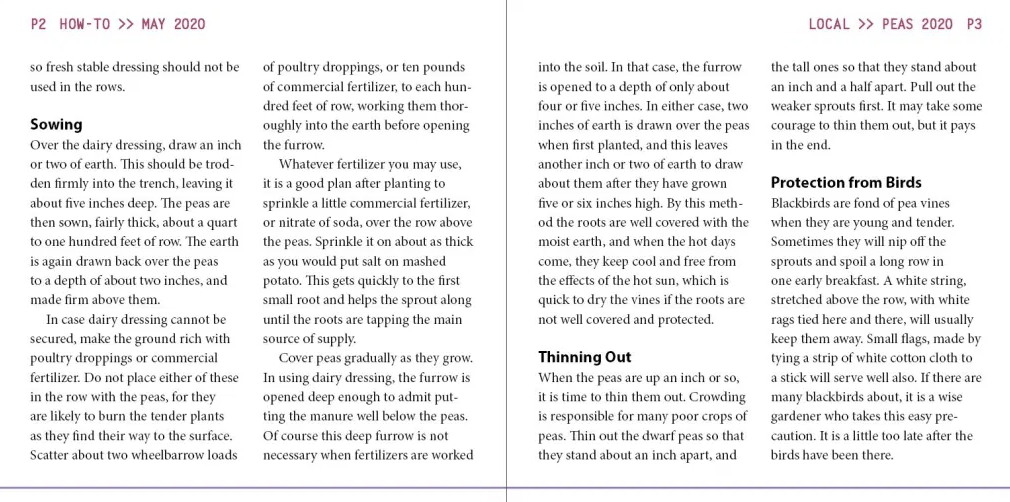
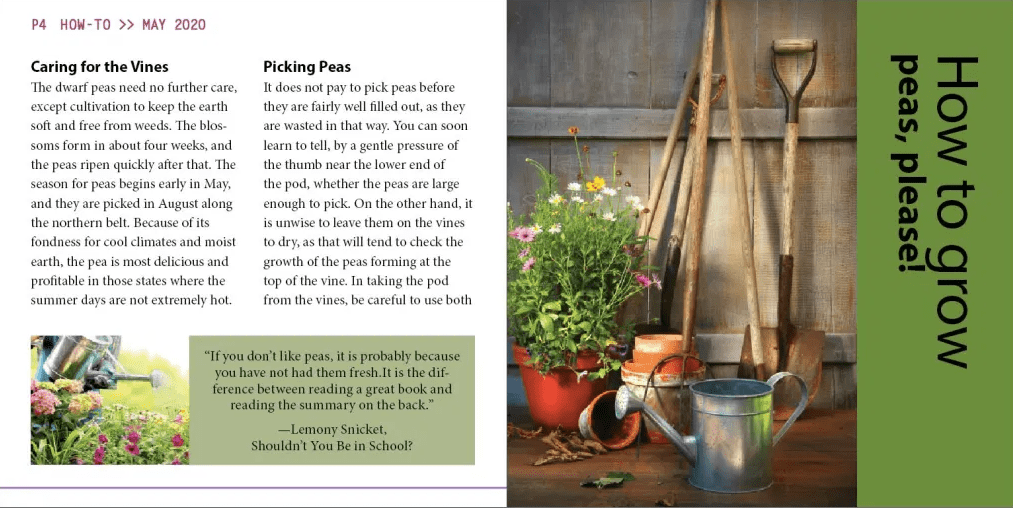
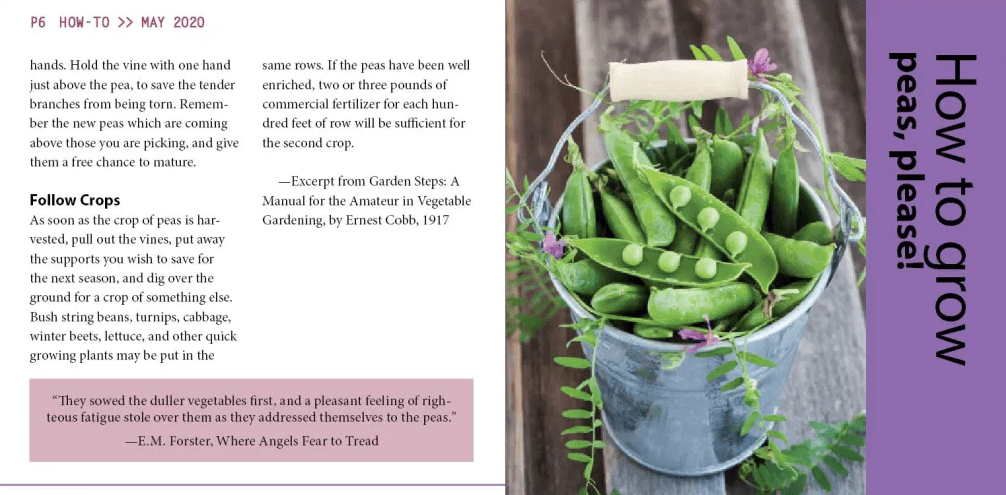
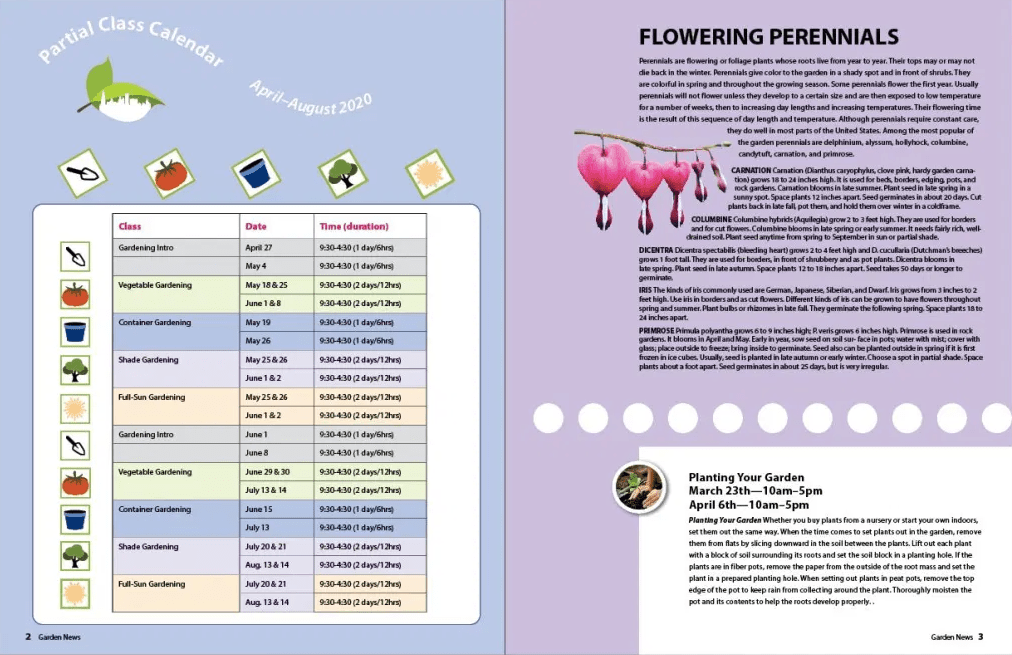
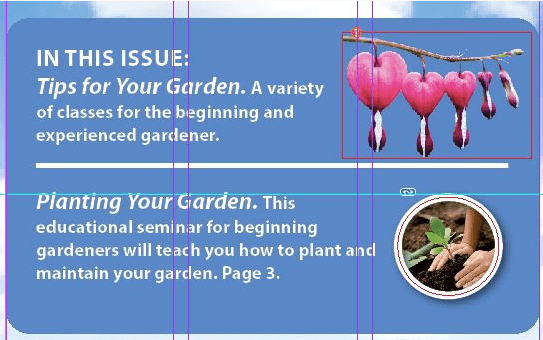
In this lesson, there were a lot of concepts that I had to practice, so here’s a quick summarized explanation. Between this text is the final product.
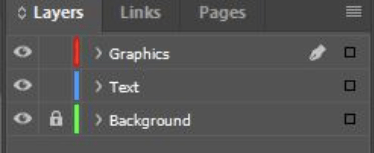
In the beginning, I learned about the layers in InDesign and how they work like stacking. There are ways to stack layers of your work to place them in a certain order. In the image above, The bleeding hearts image was moved to different sections of the layers panel. The background of the newsletter was moved to the background layer in the layers panel while the other text and images were moved to the other layers. This helped to section each part of the work out to keep an organized workspace.
Next, I had to learn about reshaping text frames, and in order to modify a text frame and edit one, you can use the direct selection tool and line the text boxes up with different guides you create. In this section, I used the direct selection tool to pull different handles out and used the Convert Direct Point Tool to change anchor points. This is very effective and useful when wanting to change the layout of a text frame.
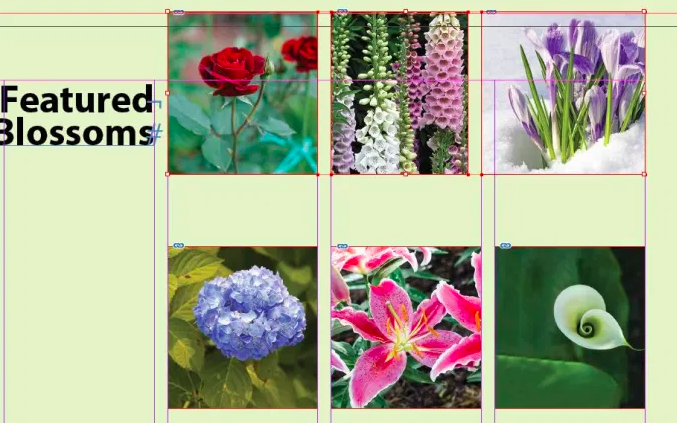
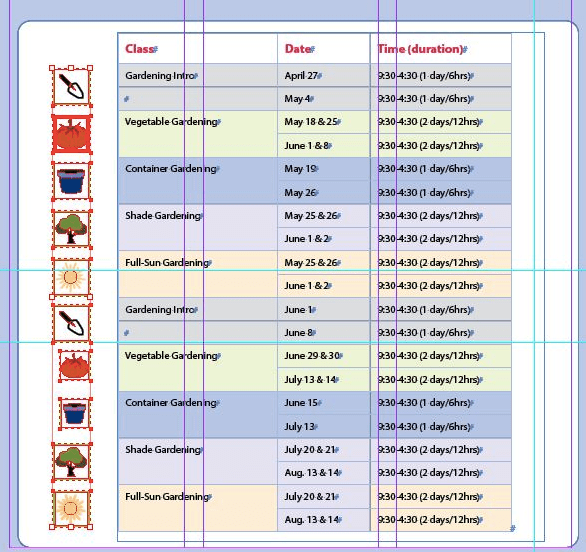
During this section of the lesson, I learned how to place multiple graphics into grid frames. To accomplish this, I selected all of the pictures, then dragged and placed them into the given frames. To make them fit proportionally in the grids, I held shift and pulled the horizontal/vertical anchor points to make the images larger and fit better. The other way to make the images fit was to choose Object < Fitting-Fill Frame Proportionally to make the process go a little faster.
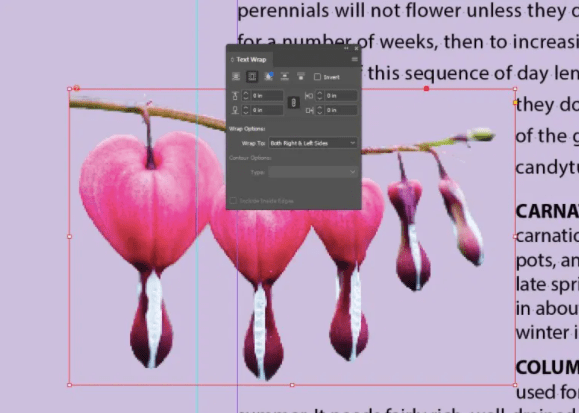
The next section was text wrapping that I had learned as well. There are different ways to use the text wrap panel to change the text’s appearance around objects and shapes. The different options in this panel allow you to put the objects in front, behind, to the side and change the looks altogether. Furthermore, it also allows for you to layout projects better and puts a more put together way of the text. Instead of your image being placed to the side and out of sight, this is a helpful way to maneuver more efficiently with texts and graphics
Finally, I learned in the last section of this lesson is how to apply alignments and size changes to graphics. There are multiple pictures lined up on the left side and I used the Align panel to take the scattered images and line them up. I specifically used Align Right Edges to complete this. The scaling portion was just dragging the anchors to increase the sizes and aligning the pictures neatly. Even though this section wasn’t the most difficult, it was very significant to understand since aligning will be used a lot in most projects.