Design a site like this with WordPress.com
Get started

Doodle 4 Google Update: 2/23

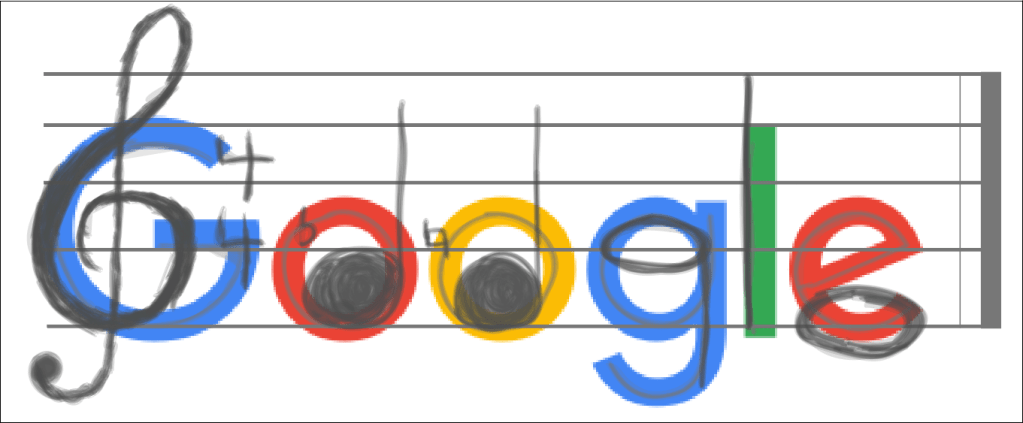
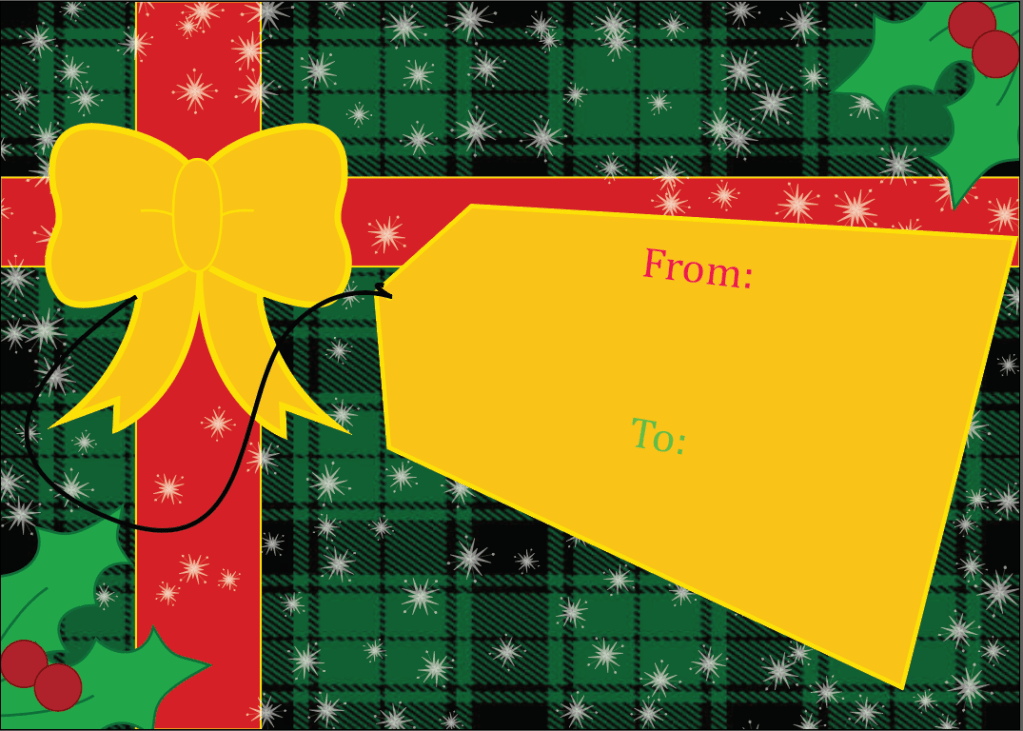
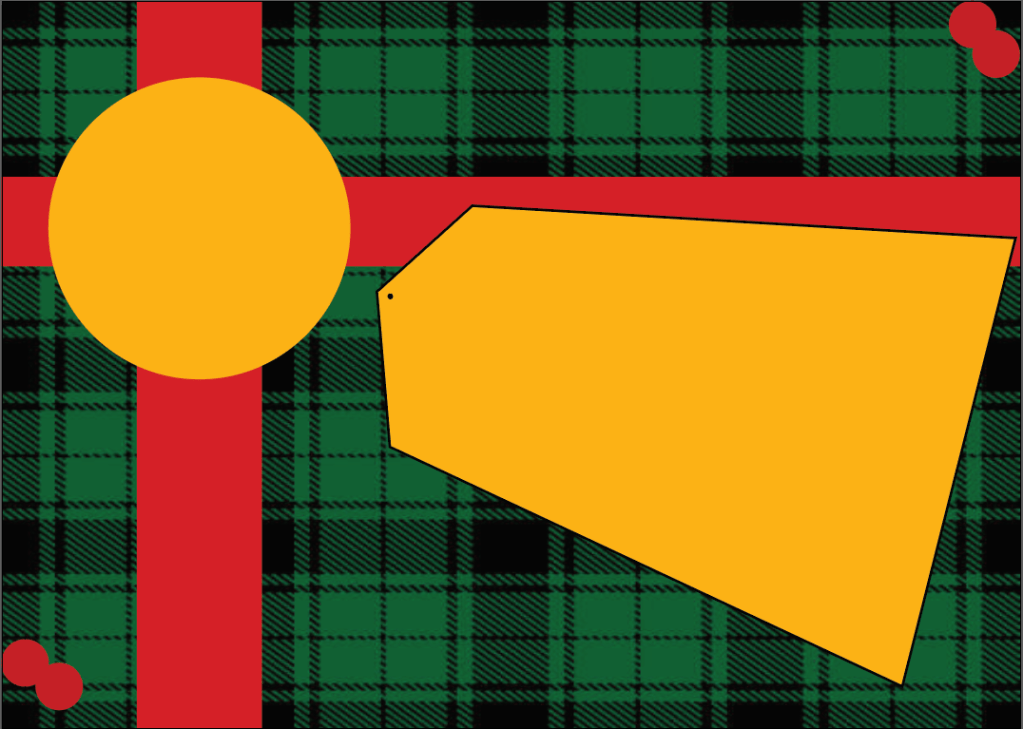
Last week, I had begun working out the sketch and layout of my Doodle 4 Google. For this week, I have putting the layout together by creating its shapes and coloring them in as well as creating the logo.

Using the previous sketch of the layout, I was able to easily recreate it using the shape tool and fill them in with the colors I saw fit. Here’s the following result:

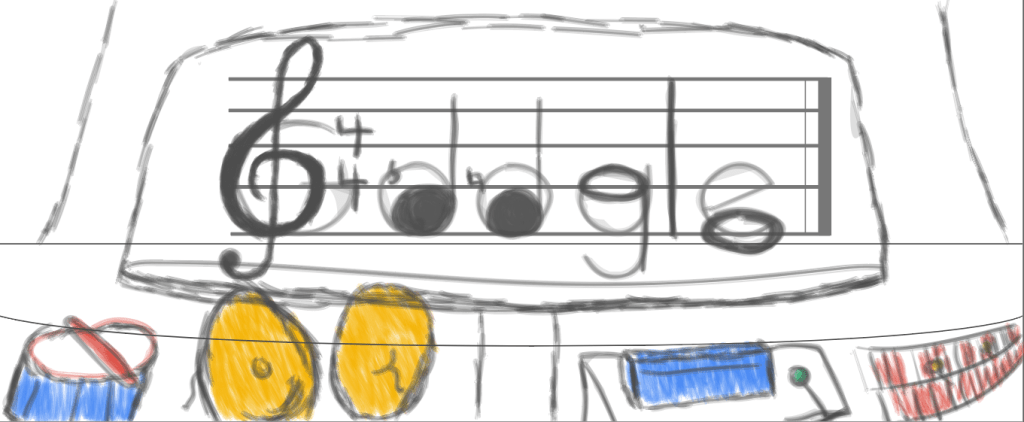
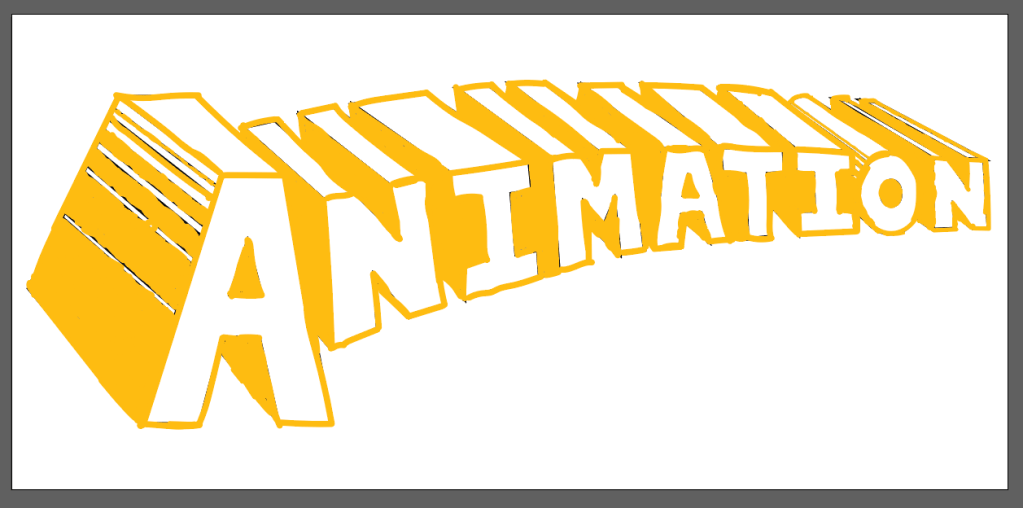
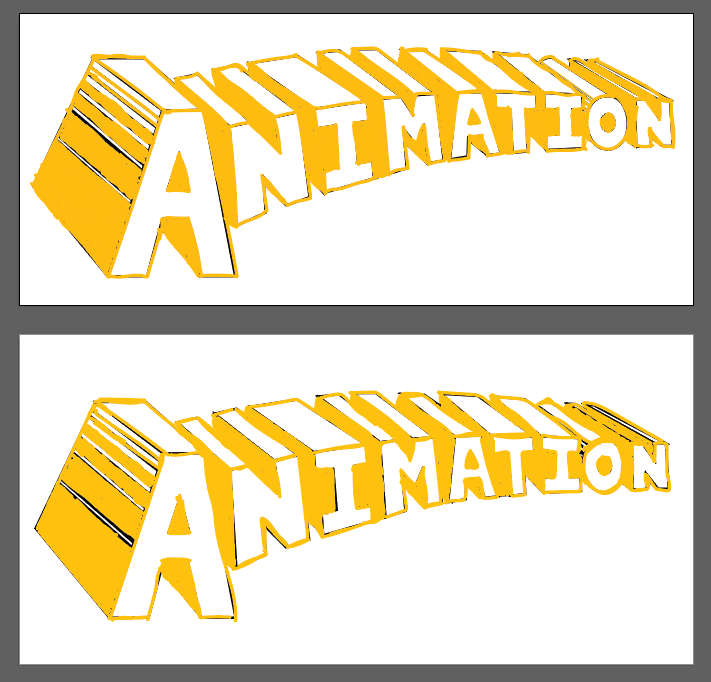
I will continue adding more colors and shapes onto that layout later. Meanwhile, I had just created the logo I’m gonna use as the focal point. Here’s what I have so far with that:

Next week, I’m gonna add onto the currently working layout and readjust the logo to see however I please. Until then, I’m gonna add final touches throughout the piece where I see fit.

Advertisement

Doodle 4 Google: 2/17

So last week I had mentioned that I was gonna continue with the mural project by coloring in Mabel and readjusting the lines. I’m taking a quick pause on that to work on this year’s Doodle 4 Google. The prompt this year focuses on how we take care of ourselves and how it calms or energizes us. Personally, I take care of myself by listening, playing, or finding music, even in the most uncommon places and I do this so I can filter out not only the chaotic world, but the mess it creates in my head.

Firstly, I took the Google logo, using it as a reference, and traced over it as to build upon the text itself. Here’s that in action:

Then, I made 5 straight horizontal lines with an ending bar at the right and sketched the letters into actual musical phrases to represent a staff. This took a little bit of creativity and time but it was definitely worth it since not only does it resemble the Google logo, but you can actually play this tune. Here’s the following result:

Mural Update: 2/11

In the last update, it was mentioned that I would be starting by coloring in Mabel’s outline created from the sketch. That’s exactly what I did for this week and then later compared it with Dipper being completed.

For a refresher, here’s Mabel’s outline made from the original sketch I drew of her:

Then I colored her in by using her unique color palette. For consistency sake since she does wear a lot of different sweaters in the show, I decided to use the sweater most recognizable to her which was the shooting star sweater. Here’s what I have so far:

For comparison, here’s a side by side of Dipper and Mabel:

For next week, I will complete coloring in Mabel, do some readjustments especially with Mabel’s hand, and then later draw over them for my practice freedrawing.

Mural Update: 1/28

In the last update, I had finished outlining and coloring Dipper and mentioned that I would start with Mabel’s outline. That’s exactly what I did by going back to the original sketch and tracing it with the pen tool. Here’s that in action:

From there, it creates an outline of Mabel for me to easily color in and to familiarize myself on how to draw her. This is the outline:

In the next update, I’ll search up colors that Mabel is recognized for since she wears many different sweaters in the show and color it within the outline. Then, I’ll add it in with Dipper and compare the two.

Mural Update: 1/14

About a few months ago, I began working on 2 characters that I wanted to draw and those were Dipper and Mabel Pines from Gravity Falls. I had started with Dipper and went as far as to create an outline for him. Here’s that for a reminder:

This week, I began working on his color scheme by looking up his palette and perfect my drawing of him. Here’s the progress of that so far:

Next week, I’ll begin with drawing Mabel’s outline and coloring her in as well, then compare it to Dipper.

Christmas Cards Final: 12/16

Last time, I had just begin to create an outline of my first Christmas card which included a present with a tag on it. Just a reminder of what it previously looked like:

Since then, I’ve began to add more to it and I thoroughly enjoy the final product. All I did was make the mistletoes, make the bow, add text to the tag, and add snowflakes in the background. Here’s the final product:

Lucky enough, I had a good amount of time create 2 more card concepts. First, I had an idea of creating a wintery landscape with mountains and trees with a snowman in the front. Surprisingly, it didn’t take too long so I took time to add snow and a huge text saying HAPPY HOLIDAYS. Here’s the final product for that:

Lastly, I had previously wanted to make a clipping mask where the text saying MERRY CHRISTMAS formed the shape of a Christmas tree. However, it didn’t exactly turned out how I had it planned, so I ditched that idea and make a more simplistic version. I think it works great being more minimalistic while saying Christmas at the exact same time. Here’s the final product for it:

Christmas Card: 12/10

Last week, I began creating Christmas cards to hand out to my loved ones and started with a gift idea which would be presented as if you were about to open a gift. Quick reminder of how it looked like:

In this week, I took inspiration from another card where a Christmas tree was formed with just text, and to do so, I would need to make a clipping mask between the shape and text. Here is what I have so far:

Christmas Card Project: 12/3

For this month, we are taking a quick break from the mural project and doing a side project involved making custom Christmas cards. However, once completed, we will return back on the mural project.

To begin, I envisioned the card being given like a present underneath the tree with the person’s name on the tag. So I created a rough draft with simple shapes then transported it onto Illustrator to play with the composition and balance it out. Here’s the following result:

Gold Circle – Bow, Red Circles – Mistletoe

The plan going forward is to finish the mistletoes in the corners, add snowflakes throughout the background, add text on the tag, and then transport it to Photoshop for visual effects.

Mural Update: 11/5

Last week, I’ve been practicing on free drawing the ANIMATION title and currently attempting to transfer it onto pen and paper. For good measure, I free drew on Illustrator again and the result was this:

Just comparing the most recent one with the previous works, the lines and filling are becoming more smooth and consistent.

Finally, I then attempted to hand draw it but thinking of resizing it smaller to fit on the paper.

Mural Update: 10/29

Last week, I had just begun practicing free drawing the ANIMATION title for the mural with the comic book background and without. Just a quick recap, here is that down below:

This week, I wanted to focus more on the text itself rather than the comic book background since it’s the main feature of the mural. So, I created another artboard, copied the template, and redrew it once again. Here was the result of that:

Top is this weeks, bottom is last weeks

As you can see, the outlines appear much smoother than before and not as wobbly as the previous week is. Still needs a bit more consistency, however, especially with the small A outline. And once I have completed another free hand drawing, I’ll attempt it without a template and sketch it out on a piece of paper.